.png)
Kubectl API Access Using an Identity Provider
After installing DKP, a single user with admin rights and static credentials is available. However, static credentials are hard to manage and replace.
To allow other users and user groups to access your environment, D2iQ recommends setting up an external Identity Provider. Users added through an identity provider do not have static credentials, but have to generate a token to gain access to your environment’s kubectl API. This token ensures that certificates are rotated continuously for security reasons.
You have two options for the generation of this token:
Method | How Often Does the User Have to Generate a Token? |
|---|---|
Generate a token | User must log in with credentials. Then manually generate a |
Enable the Konvoy Async Plugin | User configures the |
The instructions for either generating a token manually or enabling the Konvoy Async Plugin differ slightly depending on whether you configured the Identity Provide globally for All Workspaces, or individually for a Single Workspace. Here is an overview:
Configure Token Authentication for Global Identity Providers
In this scenario, the Identity Provider serves all workspaces.
You must create a new token every 24 hours:
Log in to the DKP UI with your credentials.
Select your username.
Select Generate Token.
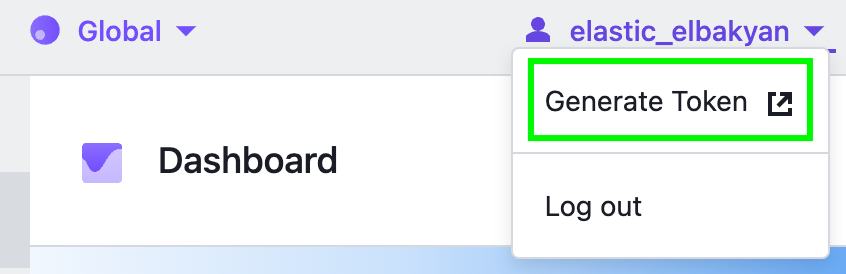
Log in again.
If there are several clusters, select the target cluster.
Follow the instructions on the displayed page.
As a prerequisite, you or a global admin must have configured an Identity Provider to see this option.
Open the login URL.
You see several options to authenticate, select the Konvoy credentials plugin instructions:
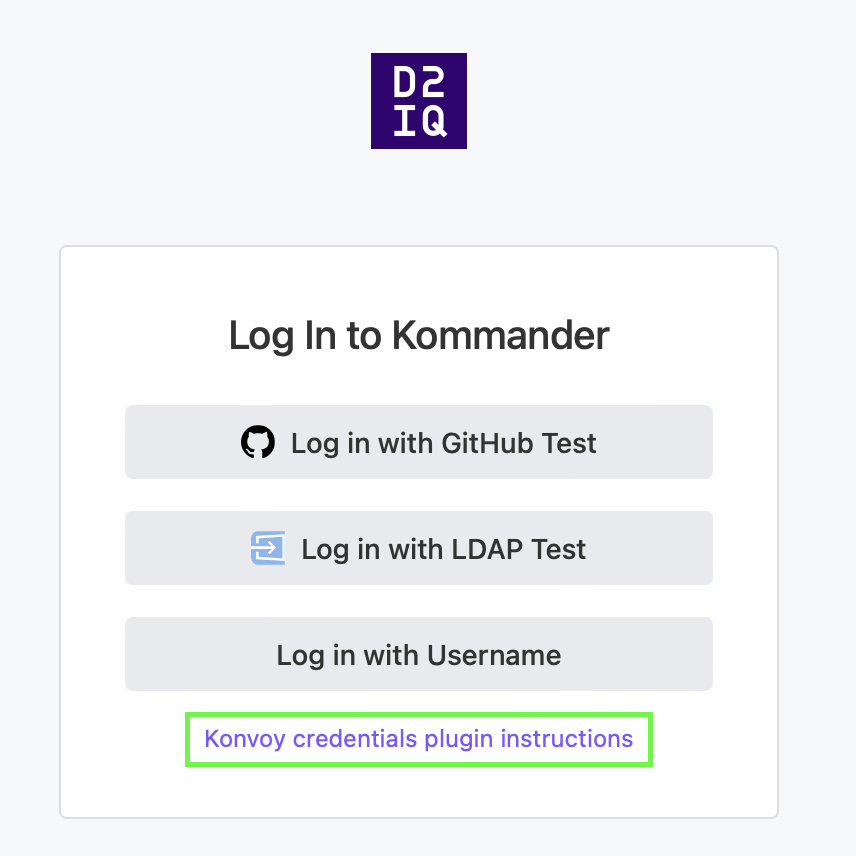
Follow the instructions on the displayed “(Konvoy) Credentials plugin instructions” page.
If you use Method 1 of the instructions documented in the “(Konvoy) Credentials plugin instructions”, you will download a kubeconfig file that includes the contexts for all clusters.
Alternatively, you can use Method 2 to create a kubeconfig file per cluster, and use the --kubeconfig= flag or export KUBECONFIG= commands to switch between clusters.
Important Warning for Method 2:
The Set profile name field is not optional if you have multiple clusters in your environment. Ensure you change the name of the profile for each cluster for which you want to generate a kubeconfig file. Otherwise, all clusters will use the same token, which makes cluster authentication vulnerable and could let users access clusters for which they do not have authorization.
Configure Token Authentication for Workspace Identity Providers
In this scenario, the Identity Provider serves a specific workspace or tenant, as explained in Multi-Tenancy in DKP.
Configure Token Authentication
You must create a new token every 24 hours:
Open the login link you obtained from the global administrator, which they generated for your workspace/tenant.
Select Generate Kubectl Configuration:
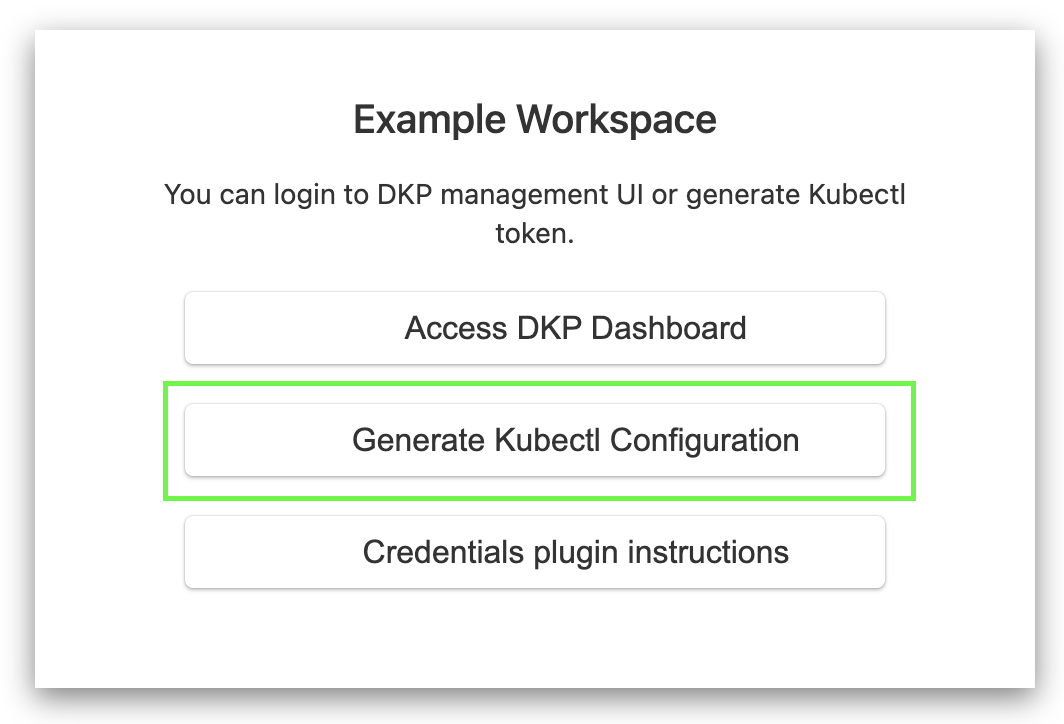
If there are several clusters in the workspace, select the cluster for which you want to generate a token.
Log in with your credentials.
Follow the instructions on the displayed page.
As a prerequisite, you or a global admin must have configured a workspace-scoped Identity Provider to see this option.
Open the login link you obtained from the global administrator, which they generated for your workspace/tenant.
Select Credentials plugin instructions:
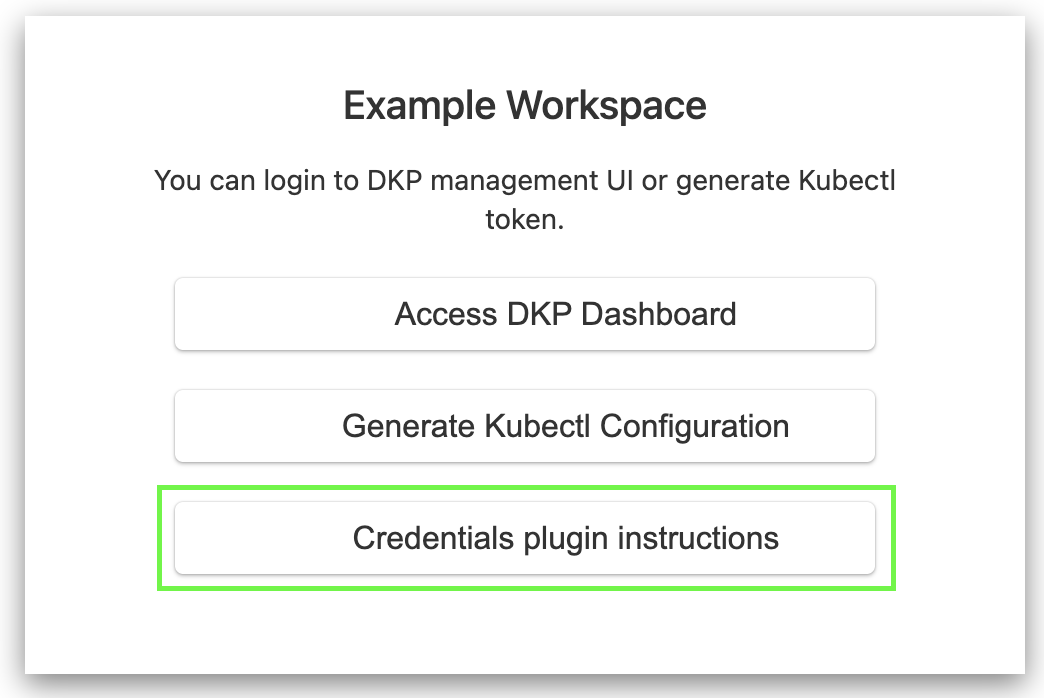
Follow the instructions on the displayed “(Konvoy) Credentials plugin instructions” page.
If you use Method 1 of the instructions documented in the “(Konvoy) Credentials plugin instructions”, you will download a kubeconfig file that includes the contexts for all clusters.
Alternatively, you can use Method 2 to create a kubeconfig file per cluster, and use the --kubeconfig= flag or export KUBECONFIG= commands to switch between clusters.
Important Warning for Method 2:
The Set profile name field is not optional if you have multiple clusters in your environment. Ensure you change the name of the profile for each cluster for which you want to generate a kubeconfig file. Otherwise, all clusters will use the same token, which makes cluster authentication vulnerable and could let users access clusters for which they do not have authorization.
FAQs
Each cluster has a unique API server address, and each cluster requires a unique token.
There are several things you can do to have access to several clusters.
If you decide to manually create a kubeconfig file with a fresh token every 24 hours, you must do this for each cluster in your environment.
If you decide to enable the Konvoy Async Plugin to automatically refresh the token, you can use the Method 1 steps documented in the “(Konvoy) Credentials plugin instructions” page to download a kubeconfig that includes the contexts for all clusters.
Alternatively, you can use the Method 2 steps documented in the “(Konvoy) Credentials plugin instructions” page to create a kubeconfig file per cluster, and use the --kubeconfig= flag or export KUBECONFIG= commands to switch between clusters.
Important Warning for Method 2:
The Set profile name field is not optional if you have multiple clusters in your environment. Ensure you change the name of the profile for each cluster for which you want to generate a kubeconfig file. Otherwise, all clusters will use the same token, which makes cluster authentication vulnerable and could let users access clusters for which they do not have authorization.
See https://kubernetes.io/docs/tasks/access-application-cluster/configure-access-multiple-clusters/ for more information on switching between contexts or using the --kubeconfig= flag for multi-cluster environment management.